
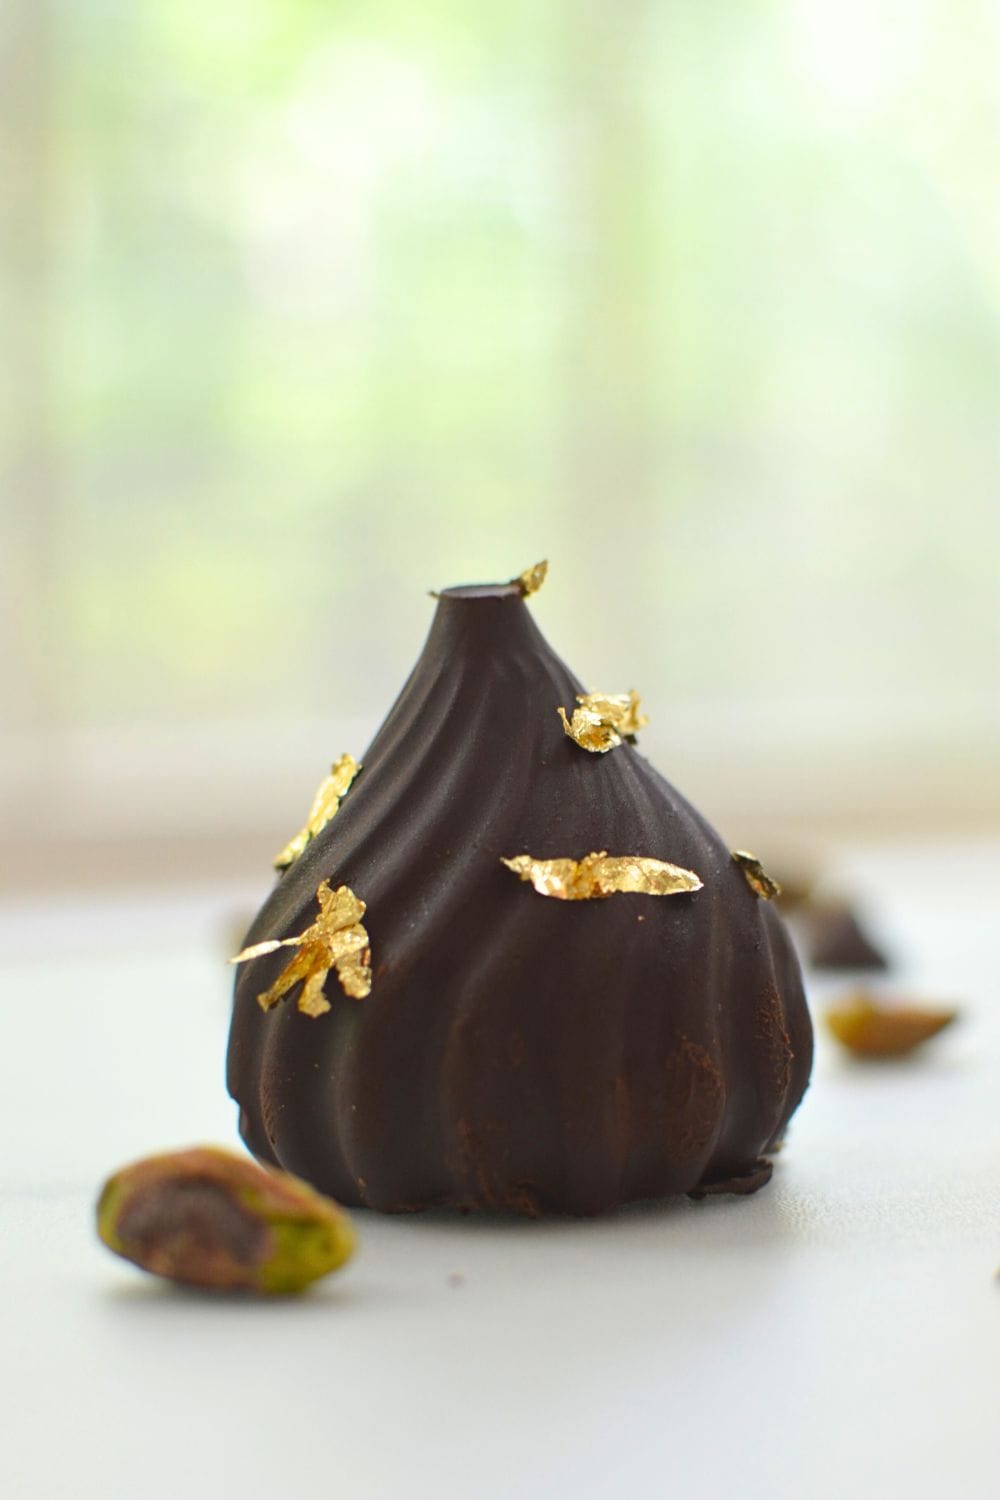
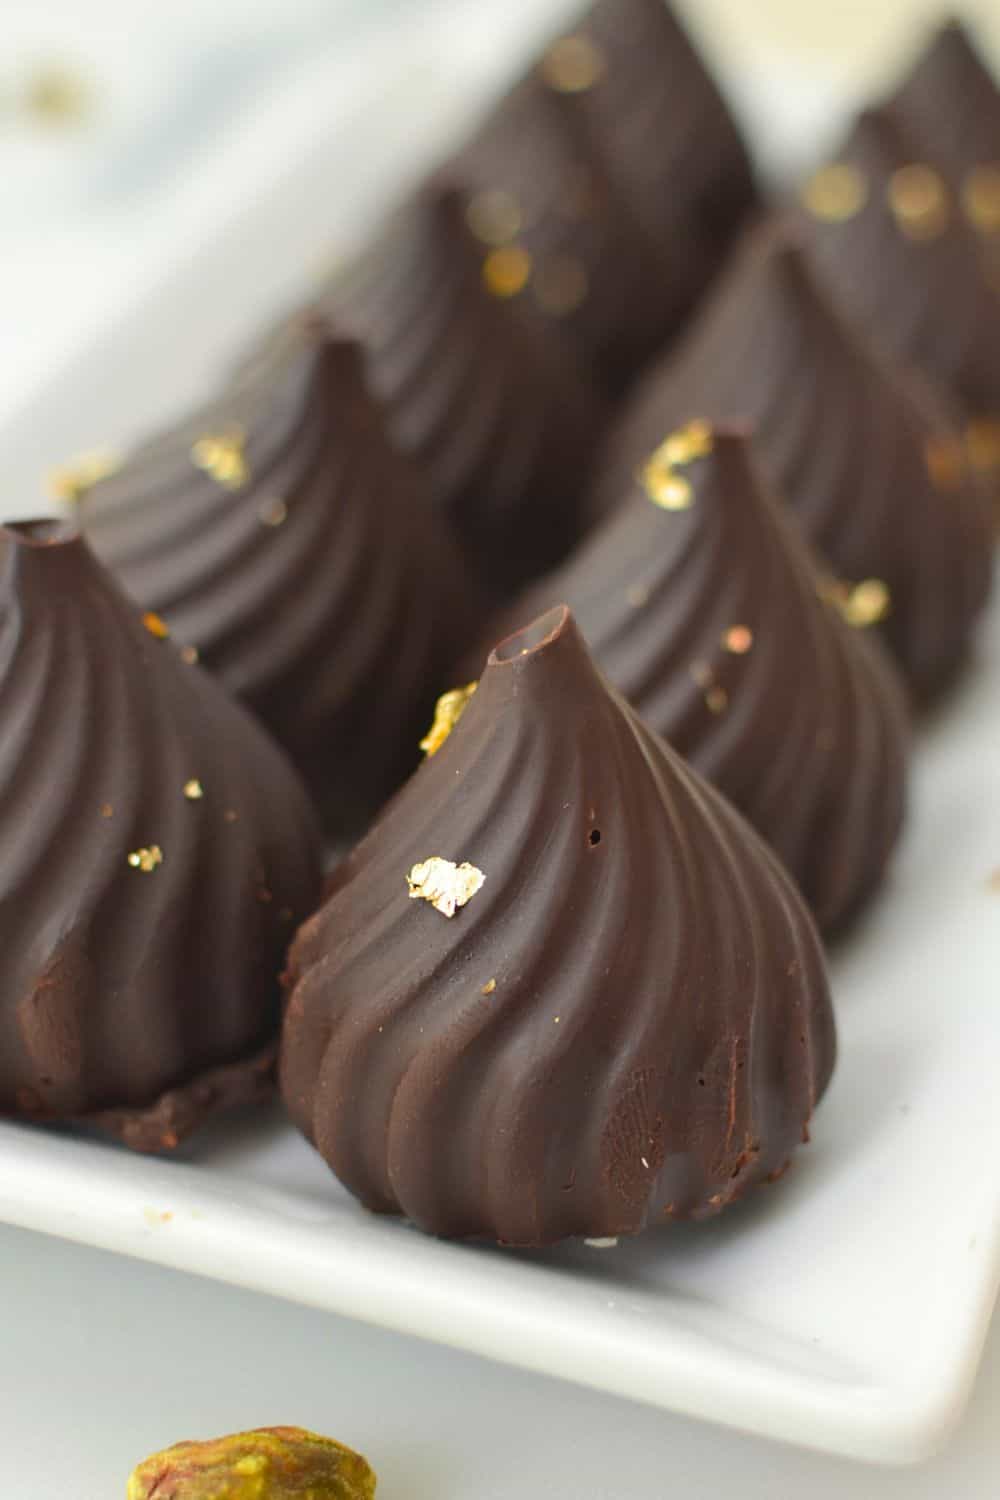
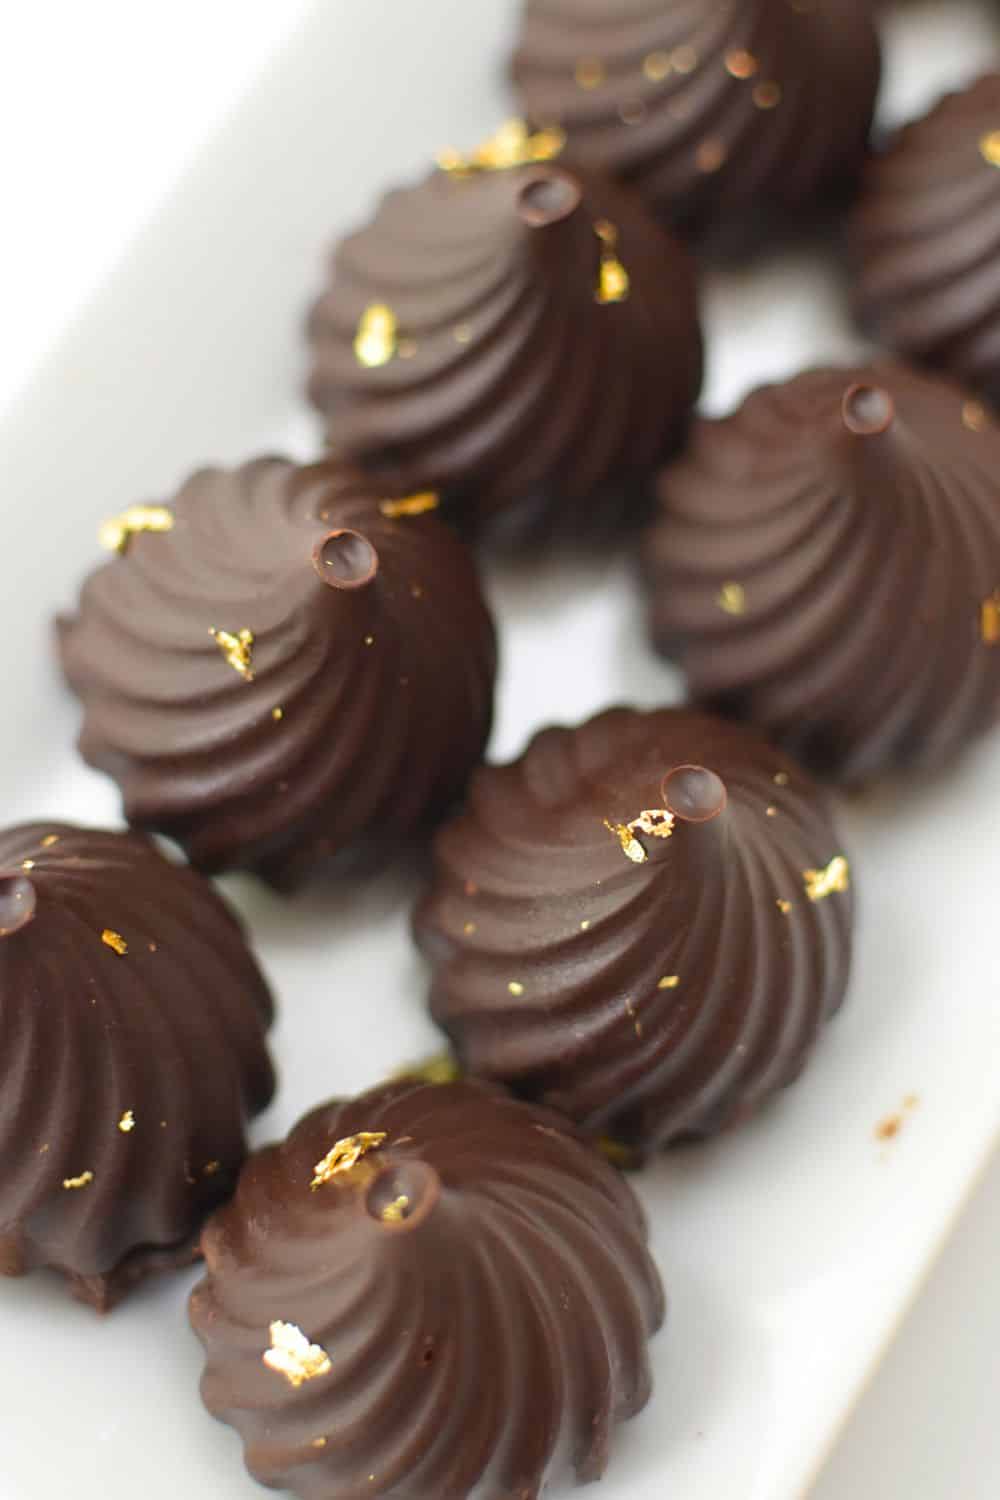
Have you ever scrolled through social media and wondered, "What's the story behind that glossy chocolate bar everyone is raving about?" If so, you're not alone! The Dubai chocolate bar filled with crispy kataifi and pistachio cream has recently gone viral. Fans and foodies from across the globe are trying their hand at recreating this iconic sweet treat at home.
Follow this recipe for tips and tricks and alternatives to simplify the cooking process. We do not use kataifi and use premade pistachio cream to create the awesome richness and irresistible flavor with ease!
Come JOIN US on Instagram @thebellyrulesthemind.official and Pinterest @Bellyrulesdmind and be a part of our community and discuss various recipes, tips and tricks.
Jump to:
Ingredients
Use a clear shot of the ingredients for this recipe, prepped, and labeled if necessary. Add a paragraph of content describing why these ingredients were chosen. Insert the ingredients into the list below, omitting quantities.
Instructions
Prepare the Chocolate Shell
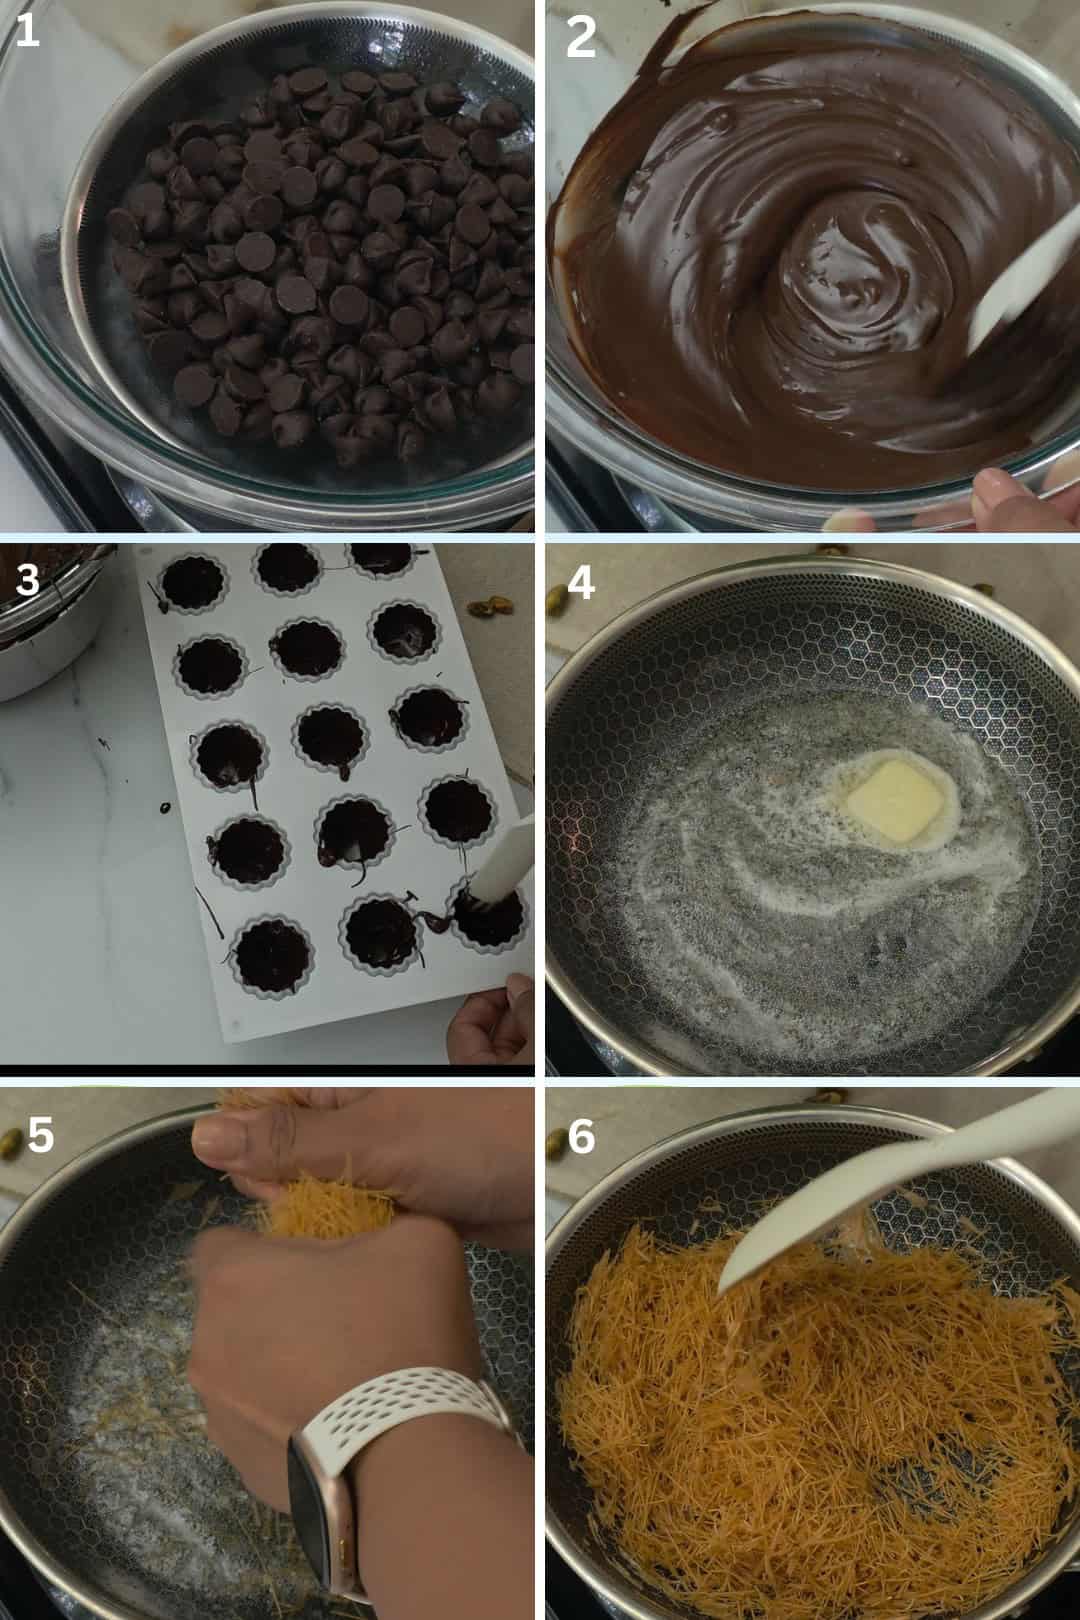
- Melt your chosen chocolate in a double boiler, stirring it until glossy.
- Mold: Pour a thin layer into a rectangular silicone (or your choice of shape) chocolate bar mold. Use a spoon and then spatula to coat all sides evenly.
- Set: Place the mold in the freezer for 10-15 minutes until the chocolate hardens.
Create the crunchy filling
- Add some butter to a hot pan and wait for it to melt.
- Break vermicelli into small pieces and add it to the pan and stir it until the vermicelli turns golden brown.
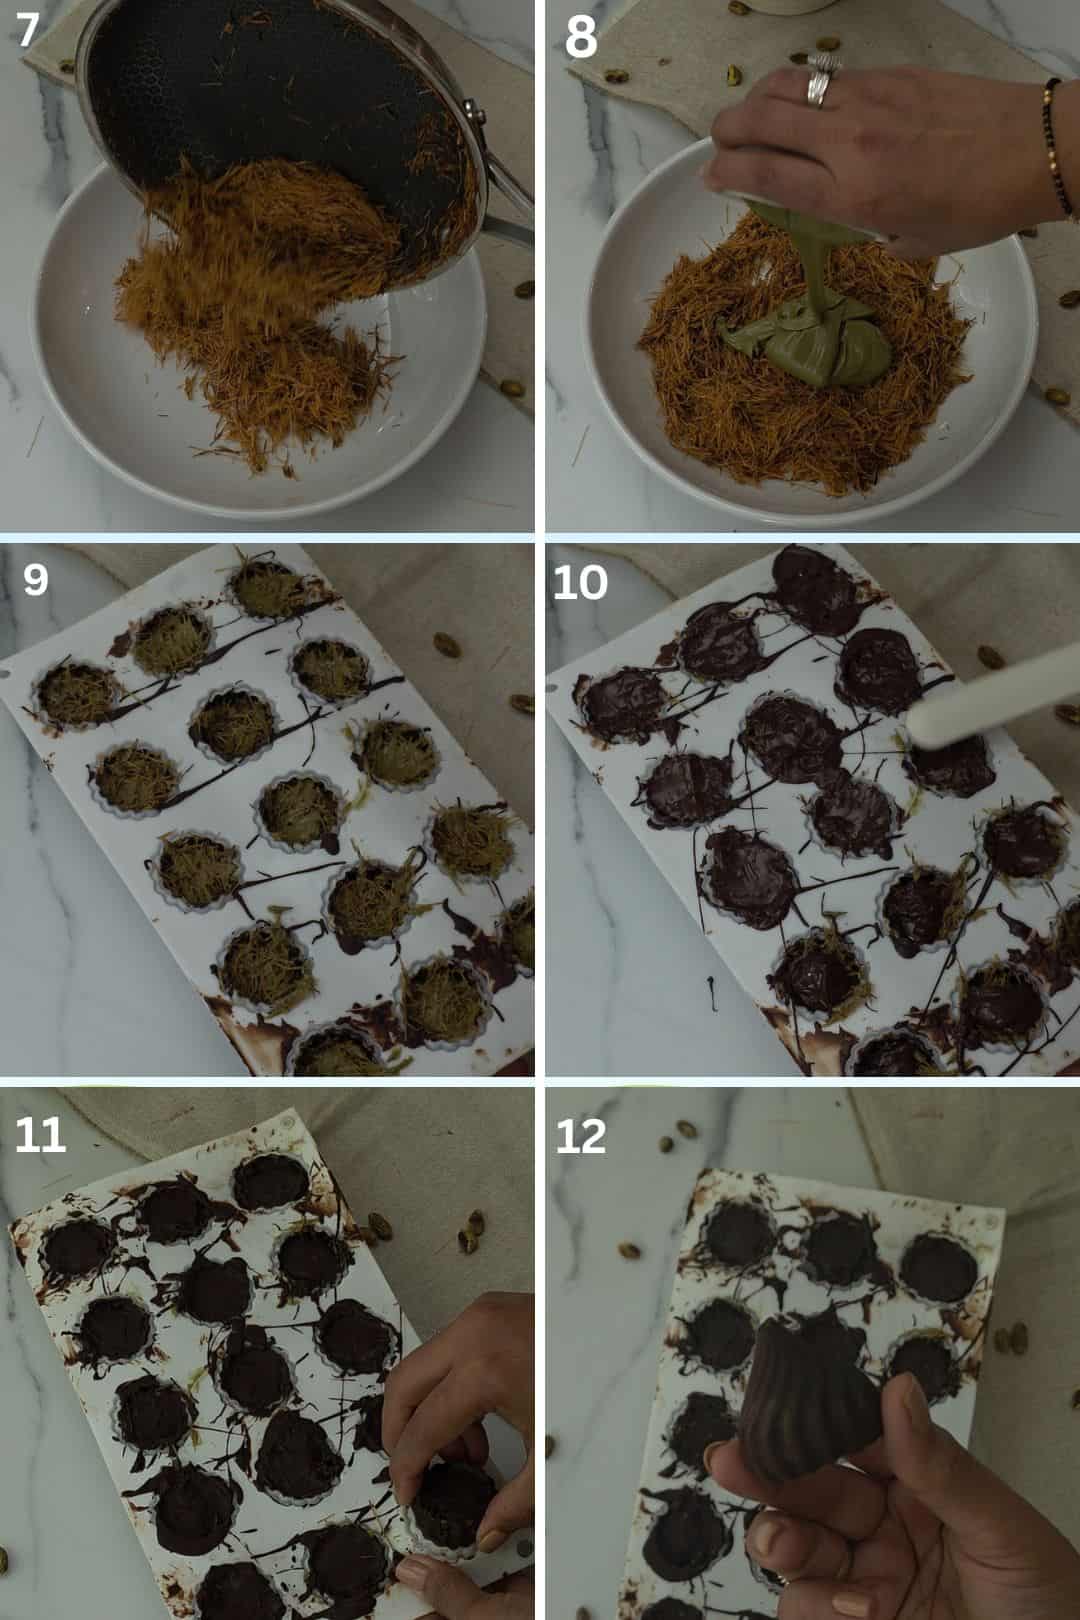
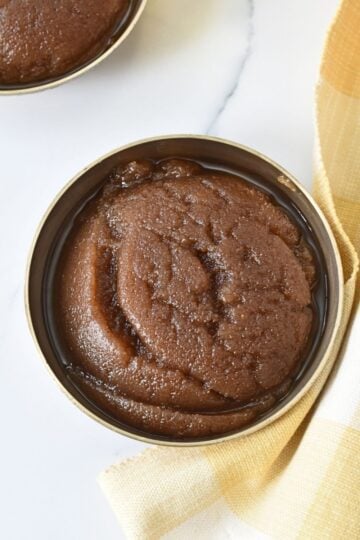
- Wait for it to cool down and add pistachio paste to the vermicelli and mix it thoroughly
Assemble the Dubai Chocolate goodness
- Fill: Spoon the crunchy filling mixture into the prepared chocolate shell, leaving a little space at the top.
- Seal: Cover with more melted chocolate, smoothing the top with a spatula.
- Chill: Refrigerate for 2-3 hours or until set firm.
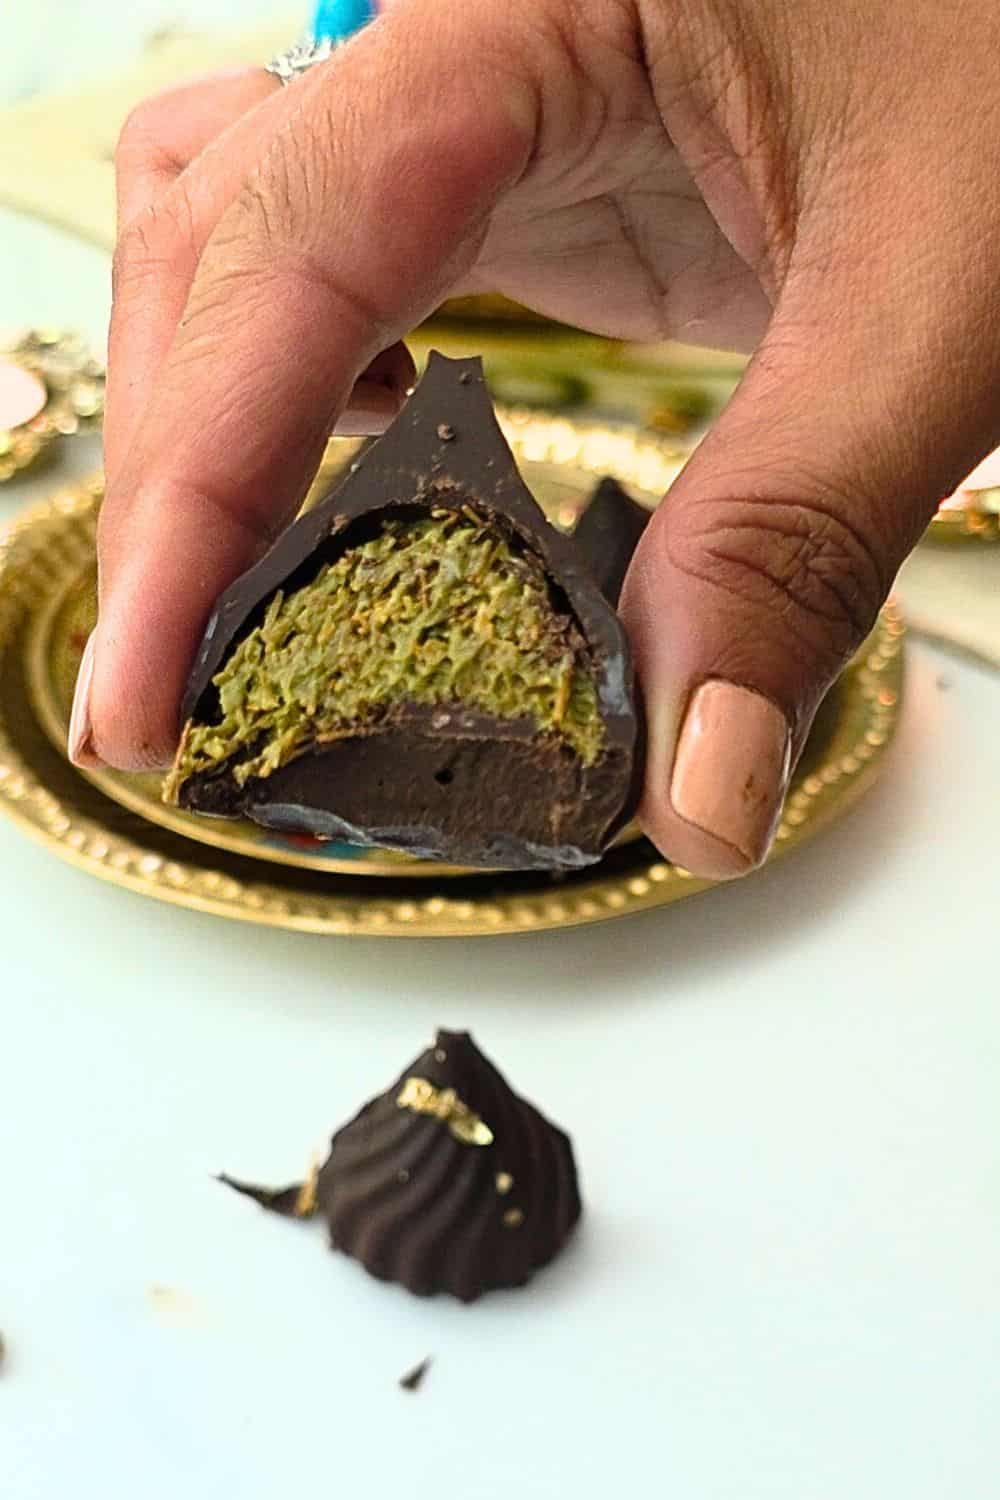
The Reveal
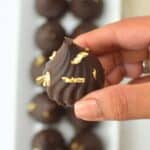
- Demold: Gently pop the chocolate bar out of the silicone mold.
- Decorate: Drizzle with extra melted chocolate, sprinkle with nuts, edible gold leaf, or a pinch of sea salt for an elegant finish.
Tips and Tricks
This recipe is surprisingly straightforward, but a few simple tricks can make sure your bites / bars are flawless every time.
- Use a silicone mold for easy release and a shiny finish.
- Make sure each layer is set properly before adding the next to avoid collapse.
- Work with room temperature ingredients to prevent the chocolate from seizing.
- Store in an airtight container in the fridge-homemade bars are freshest within three days.
Simplicity Redefined
Homemade Dubai chocolate bars are proof that the most stunning desserts don't have to be complicated-just made with care and a little creativity.
Flavor Variations to Try at Home
Don't be afraid to get creative! One of the joys of this trend is putting your own spin on it.
Trending Dubai-Inspired Flavors
- Pistachio cream with a sprinkle of saffron
- Biscoff cookie butter with crumbled biscuits
- Tahini and date caramel for a Middle Eastern flair
- Toasted coconut and almond for extra crunch
How to Store Dubai Chocolate Bars
Proper storage is essential to keep your homemade Dubai chocolate bars looking glossy and tasting fresh. Since these bars contain cream-based fillings, they need a bit more care than regular chocolate.
Short-Term Storage (3-5 Days)
- Refrigerator: Wrap each bar individually in parchment paper or plastic wrap to prevent moisture and odors from affecting the chocolate.
- Airtight container: Place wrapped bars in a sealed container to maintain freshness.
- Temperature: Keep at 35-40°F (2-4°C) for best results.
- Before serving: Let bars sit at room temperature for 10-15 minutes to soften slightly and enhance flavor.
Storage Pro Tips
- Never store chocolate bars near strong-smelling foods like onions or garlic-chocolate absorbs odors easily.
- If you notice white spots on the surface (called "bloom"), don't worry-it's still safe to eat, just a sign of temperature changes.
- For gift-giving, store bars in small individual boxes or tins to prevent breaking during transport.
Top Tip
Make sure each layer is set properly before adding the next to avoid collapse.
Related
Looking for other recipes like this? Try these:

Conclusion
Dubai's viral chocolate bar is more than just a feast for the eyes. It's a delicious example of how food trends can bring people together across cultures and continents. Whether you follow the classic pistachio filling or invent a bold new combination, making your own chocolate bar at home is a delightful way to savor a taste of one of Dubai's most exciting culinary trends.
Ready to create your own masterpiece? Gather your favorite flavors, enlist friends or family, and let your creativity shine! Don't forget to share your results (and perhaps a few secret tips) in the comments below.
How to make Viral Dubai Chocolate Bars (Bite Size)
Description
Discover the ultimate Dubai chocolate bars recipe with mind-blowing results! Create these viral treats at home using simple ingredients and proven techniques.
Ingredients
8 oz dark chocolate chips
4 tbsp pistachio cream
2 cups thin Indian vermicelli, crushed
2 tbsp butter
Edible gold (for garnish, optional)
Instructions
Prepare the Chocolate Shell
- Melt your chosen chocolate in a double boiler, stirring it until glossy.
- Mold: Pour a thin layer into a rectangular silicone (or your choice of shape) chocolate bar mold. Use a spoon and then spatula to coat all sides evenly.
- Set: Place the mold in the freezer for 10-15 minutes until the chocolate hardens.
Create the crunchy filling
- Add some butter to a hot pan and wait for it to melt.
- Break vermicelli into small pieces and add it to the pan and stir it until the vermicelli turns golden brown.
- Wait for it to cool down and add pistachio paste to the vermicelli and mix it thoroughly
Assemble the Dubai Chocolate goodness
- Fill: Spoon the crunchy filling mixture into the prepared chocolate shell, leaving a little space at the top.
- Seal: Cover with more melted chocolate, smoothing the top with a spatula.
- Chill: Refrigerate for 2-3 hours or until set firm.
The Reveal
- Demold: Gently pop the chocolate bar out of the silicone mold.
- Decorate (optional): Drizzle with extra melted chocolate, sprinkle with nuts, edible gold leaf, or a pinch of sea salt for an elegant finish.
Notes
Tips and Tricks
This recipe is surprisingly straightforward, but a few simple tricks can make sure your bites / bars are flawless every time.
- Use a silicone mold for easy release and a shiny finish.
- Make sure each layer is set properly before adding the next to avoid collapse.
- Work with room temperature ingredients to prevent the chocolate from seizing.
- Store in an airtight container in the fridge-homemade bars are freshest within three days.


Leave a Reply