Puri aka Poori Recipe - An Indian fried bread that is a must have! It cooks up fast and needs only a few minutes of prep time. This means you can serve this delicious puri with your favorite gravies, curries, and anything that has sauce you want to soak up and enjoy every last drop. Video Recipe. Vegan.
LET'S BE FRIENDS ON PINTEREST! WE'RE ALWAYS PINNING TASTY RECIPES!
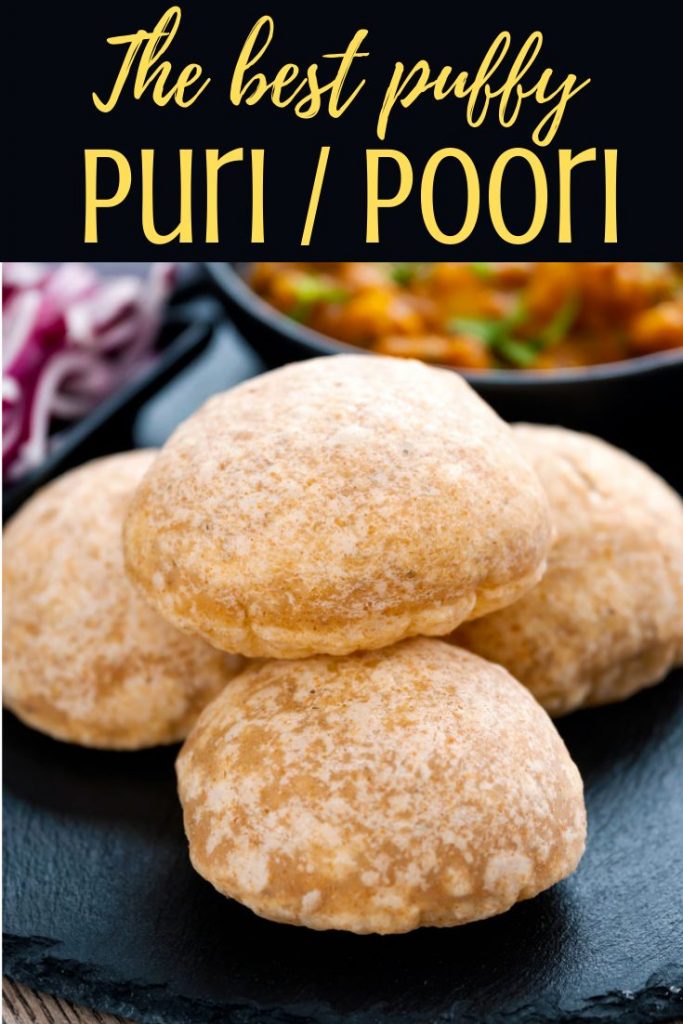
What is Puri or Poori?
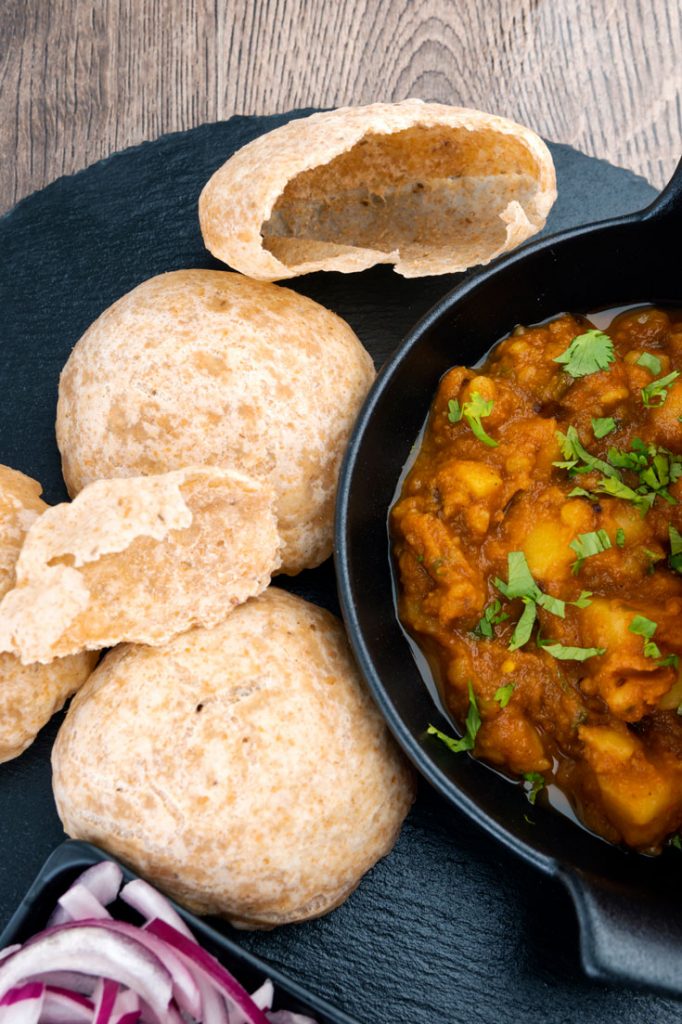
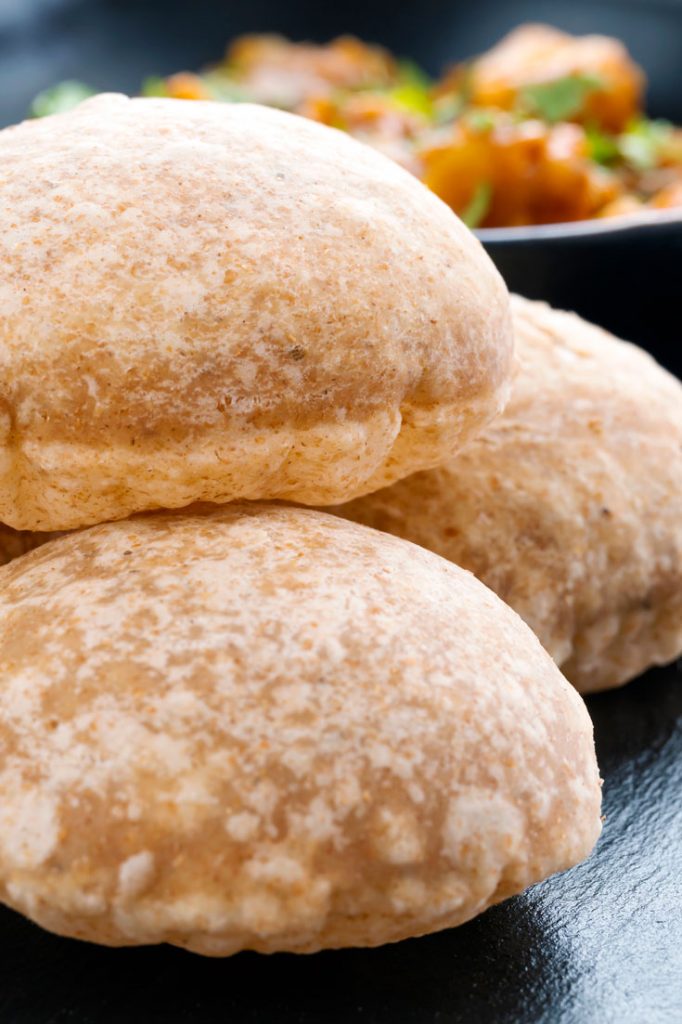
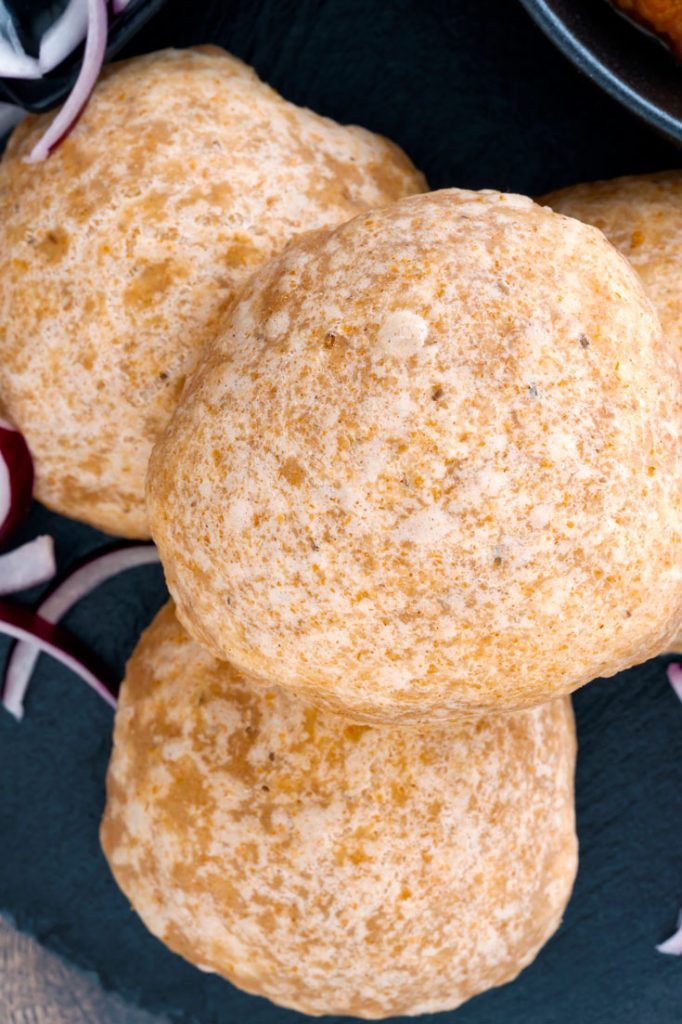
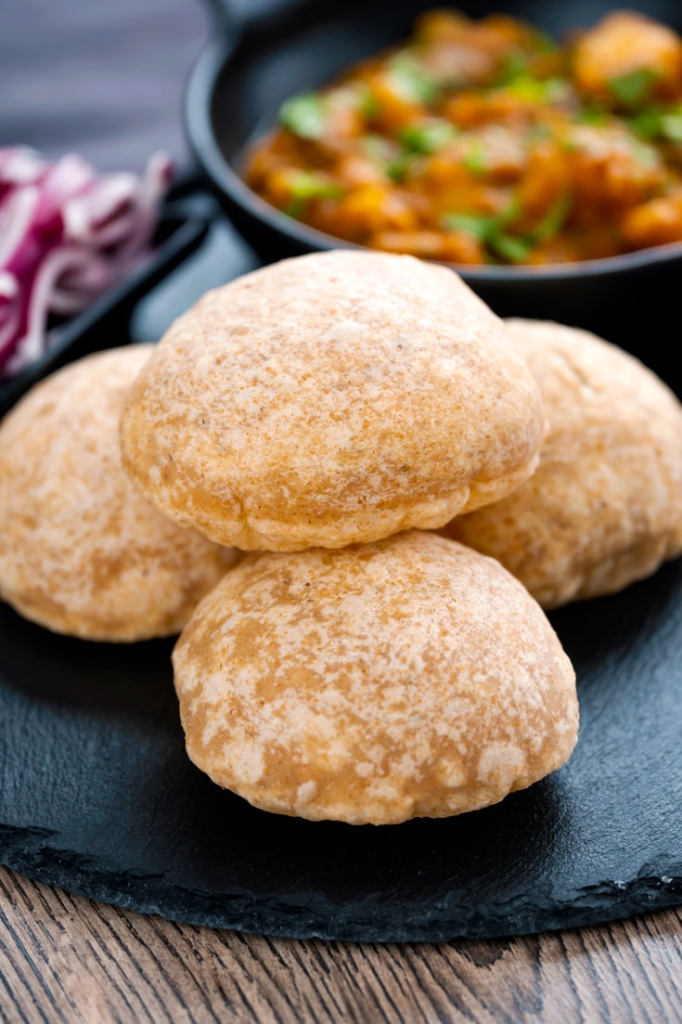
Puri or Poori, is an unleavened, deep fried bread served throughout India. People usually pair Puri with a Potato Curry as either a breakfast, snack, or meal. It is often served with savory dishes, like Dal Tadka, Chole, Chana Masala, or Dal Makhani, but you can also serve it with sweet dishes instead.
How is Puri different from Bhatura?
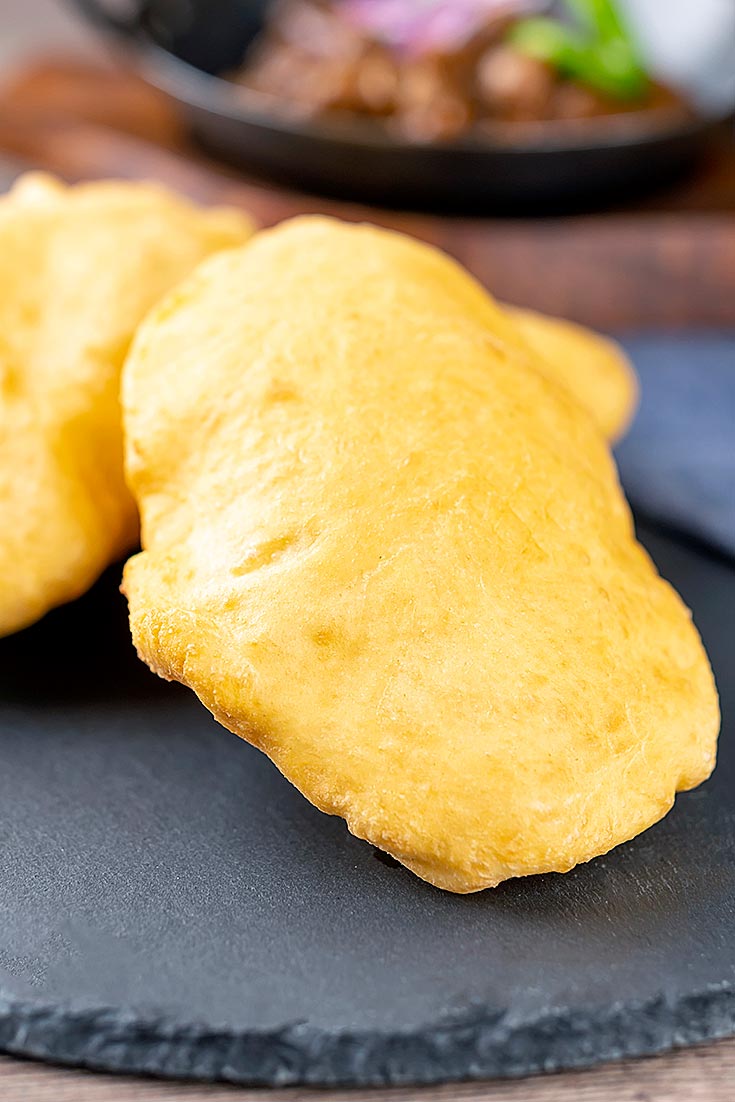
There are a few major differences between puri and bhatura. Puri is made without a leavening agent, whereas bhatura uses yeast.
Puris are often smaller in size than bhatura.
Bhatura also uses all purpose flour while puri needs whole wheat flour for the right texture and flavor.
The textures are very different from eachother.
Puri Recipe Ingredients
You really don't need much to make this puffy poori. Here's all you should have on hand:
- whole wheat flour - for this recipe, do not use all purpose flour. I have used high quality whole wheat flour which isn't bleached and is packed with fiber, proteins, vitamins, and minerals. You can also use the Indian Atta but it's not as nutrient rich as this.
- oil - light olive oil, canola oil, or vegetable oil are needed for the dough and to fry the bread
- salt
- caraway seeds (optional) - they give a nice flavor.
- water
How to make Fluffy Puris
Here's what you need to do to make fluffy pooris every time.
To start, either use a stand mixer with a dough attachment or knead the dough with your hands in a large mixing bowl. First, add the flour, salt, and 1 teaspoon of oil and give it a quick mix.
Gradually add the water and knead the dough until it becomes firm and stiff.
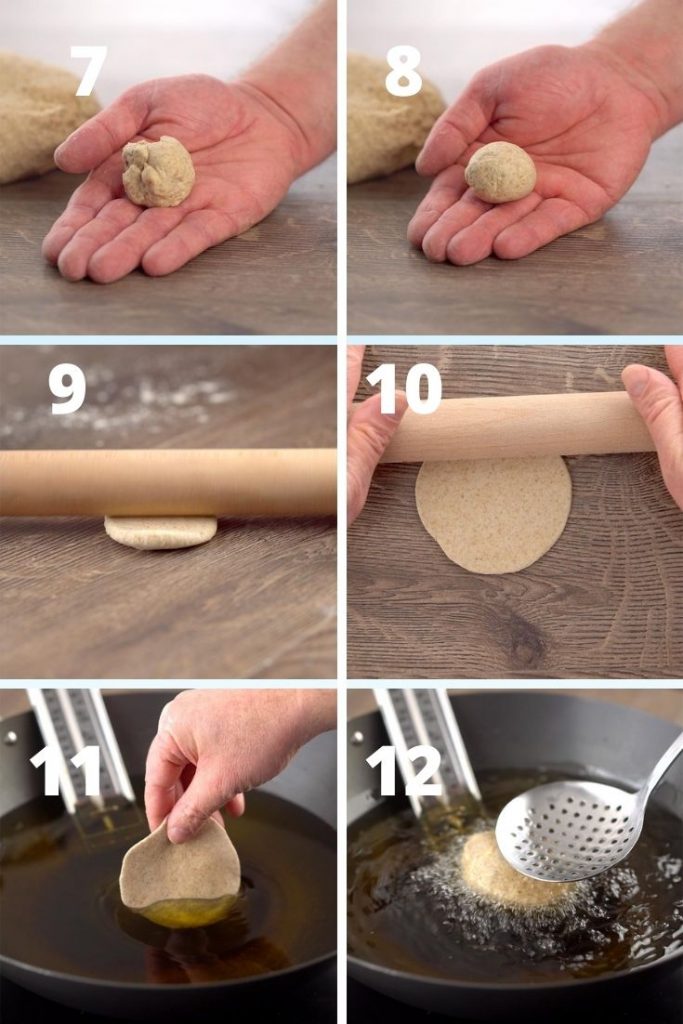
When the dough is formed, divide it into 30 equal parts and roll them into balls with your hands.
Next, take one dough ball at a time and roll it evenly into a round shape approximately the size of your palm or 4 inches in diameter.
Keep rolling the remaining dough balls and set them aside. I find it easier to roll all the balls first and then fry them instead of rolling and frying each ball separately.
When the balls are ready, heat enough oil in a heavy bottom wok or pan to submerge the balls. Once the oil is hot, reduce the heat from high to medium.
Next, carefully slide the rolled puri dough into the hot oil. Use a mesh ladle to gently immerse the puri in oil until it starts to puff.
Once it has puffed, flip the dough and cook until the color darkens slights. Carefully remove the puri and place it on a kitchen towel to absorb excess oil. Finally, repeat the process for the remaining dough.
Serve warm and enjoy!
Pro tips and tricks to make the best Puris
New to making puri? Don't worry! These simple tricks will help you make it.
- Make the balls about 4 inches around for even cooking.
- Use a paper towel to help absorb extra oil once you are doing cooking them.
- Make sure the dough has a firm consistency before making the balls.
- Flip the dough when the dough begins to puff and only cook until it has started to darken in color.
- Use high quality whole wheat flour, not all purpose flour.
- Serve puri with your favorite curries, gravies, or other Indian recipes.
Is Poori vegan and gluten-free
This Puri recipe is vegan to begin with so you do not need to make any modifications to fit your vegan diet.
You can make gluten free versions of puri using gluten free flours such as rice flour. You will likely need to adjust the amount of water used. If you use rice flour, you'll need about 1.5 cups instead of 1.25 cups. Otherwise, making the dough and frying it is basically the same.
The consistency of gluten free poori may be a little different too. Rice flour tends to make a crispier outside than whole wheat flour.
Serving suggestions
Puri goes great with a lot of different dishes. Like other Indian breads, it does a great job with soaking up gravies and sauces.
Some of our favorite pairings include:
- Potato Curry
- Dum aloo
- Aloo matar
- Dal Tadka
- Chole
- Dal Makhani
- Kheer
- Shrikhand
How to make Pooris ahead of time
You can make the dough a few days ahead of making the poori if you want.
To do this, follow the instructions through making the dough. Before forming them into balls, you can tightly wrap the dough in plastic wrap and place in the fridge for about 2 to 3 days. Just make sure to let the dough come up to room temperature before rolling the balls and frying the dough.
You can also freeze the dough. To do this, I recommend making the balls and freezing them on a tray for about 2 hours. Once they have frozen, place them in a freezer safe bag or container. You can freeze them for up to 6 months. Before making, allow them to come up to room temperature.
Storing
Puri are best served fresh from being fried, but you can store them for a few days if needed.
To store, place cooled puri into an airtight container. I recommend wrapping each piece in a paper towel to help keep them moisture free.
You can store them for upto a week on the counter in an airtight container. To reheat, you can place them in a warm oven for a few minutes to let them warm through again.
Flavor variations you can add to this Poori Recipe
Poori pairs well with a lot of different dishes, both savory and sweet.
Instead, you can change the flavor by adding spinach puree, beetroot puree, pumpkin puree or simple dry ground spices like cumin and pepper or dried fenugreek to make variations of this poori recipe. To make sure you do not exceed the proportionof liquid for kneading. Knead the dough with your puree and skip the water.
What flours can I use to make Puri
Puri needs whole wheat flour to make the best flavor and texture. While all purpose flour is good for a lot of recipes, it is not good for making any poori recipe. You can use the Indian Whole Wheat flour also known as chakki atta or a a high quality whole wheat flour like this.
Why is my puri crisp?
If your puri has become too crisp, it's because it cooked for too long. To avoid this, you should flip the poori as soon as it starts to puff up. You should remove it once it has started to turn a darker color. If you cook it for too long, the dough can become crispy.
Why is my puri oily?
Puri can become too oily if you did not set it on a paper towel. Resting the poori on a towel allows the excess oil to absorb and drip off the puri.
How to make the best puffed puris
Here are some tips for making the best puffed pooris.
- Use whole wheat flour, not all purpose flour for this poori recipe.
- Don't make the balls too big or small, about 4 inches around is perfect.
- The dough should be firm before rolling and deep frying.
- Flip the dough as soon as it starts to puff and only cook until it starts to darken to avoid over cooking.
If you love Indian food, you will like these recipes
Let us know what you think of this Puri recipe
When you make this poori recipe, don't forget to let us know what you think and how you served them! Be sure to take a pic and tag us on Instagram @dbellyrulesdmind or Facebook @thebellyrulesthemind!
Puri Recipe aka Poori Recipe
Print
Easy Puffed Puri Recipe /Indian Fried Bread
- Total Time: 40 minutes
- Yield: 30 1x
- Diet: VeganDiet
Description
Puri aka Poori Recipe - An Indian fried bread that is a must have! It cooks up fast and needs only a few minutes of prep time. This means you can serve this delicious puri with your favorite gravies, curries, and anything that has sauce you want to soak up and enjoy every last drop. Video Recipe. Vegan.
Ingredients
- whole wheat flour (please do not use all purpose flour) 3 cups
- 1 tsp oil
- salt 1 tsp
- caraway seeds 1 tsp
- water 1 ¼ cup
- oil to fry
Instructions
How to make Fluffy Puris
Here’s what you need to do to make fluffy pooris every time.
To start, either use a stand mixer with a dough attachment or knead the dough with your hands in a large mixing bowl. First, add the flour, salt, and 1 teaspoon of oil and give it a quick mix.
Gradually add the water and knead the dough until it becomes firm and stiff.
When the dough is formed, divide it into 30 equal parts and roll them into balls with your hands.
Next, take one dough ball at a time and roll it evenly into a round shape approximately the size of your palm or 4 inches in diameter.
Keep rolling the remaining dough balls and set them aside. I find it easier to roll all the balls first and then fry them instead of rolling and frying each ball separately.
When the balls are ready, heat enough oil in a heavy bottom wok or pan to submerge the balls. Once the oil is hot, reduce the heat from high to medium.
Next, carefully slide the rolled puri dough into the hot oil. Use a mesh ladle to gently immerse the puri in oil until it starts to puff.
Once it has puffed, flip the dough and cook until the color darkens slights. Carefully remove the puri and place it on a kitchen towel to absorb excess oil. Finally, repeat the process for the remaining dough.
Serve warm and enjoy!
Notes
Pro tips and tricks to make the best Puris
New to making puri? Don’t worry! These simple tricks will help you make it.
Make the balls about 4 inches around for even cooking.
Use a paper towel to help absorb extra oil once you are doing cooking them.
Make sure the dough has a firm consistency before making the balls.
Flip the dough when the dough begins to puff and only cook until it has started to darken in color.
Use high quality whole wheat flour, not all purpose flour.
Serve puri with your favorite curries, gravies, or other Indian recipes.
- Prep Time: 10 minutes
- Cook Time: 30 minutes
- Cuisine: Indian
Nutrition
- Serving Size: 1
- Calories: 39
- Sugar: 0
- Sodium: 86
- Fat: 1
- Saturated Fat: 0
- Unsaturated Fat: 1
- Trans Fat: 0
- Carbohydrates: 6
- Fiber: 1
- Protein: 1
- Cholesterol: 0





Leave a Reply