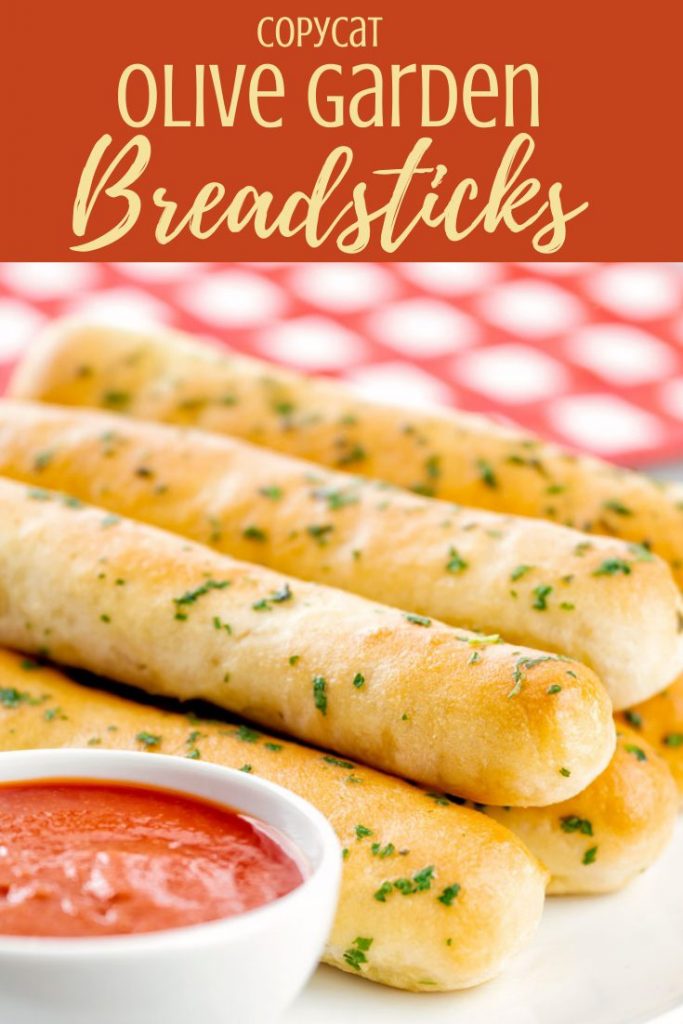
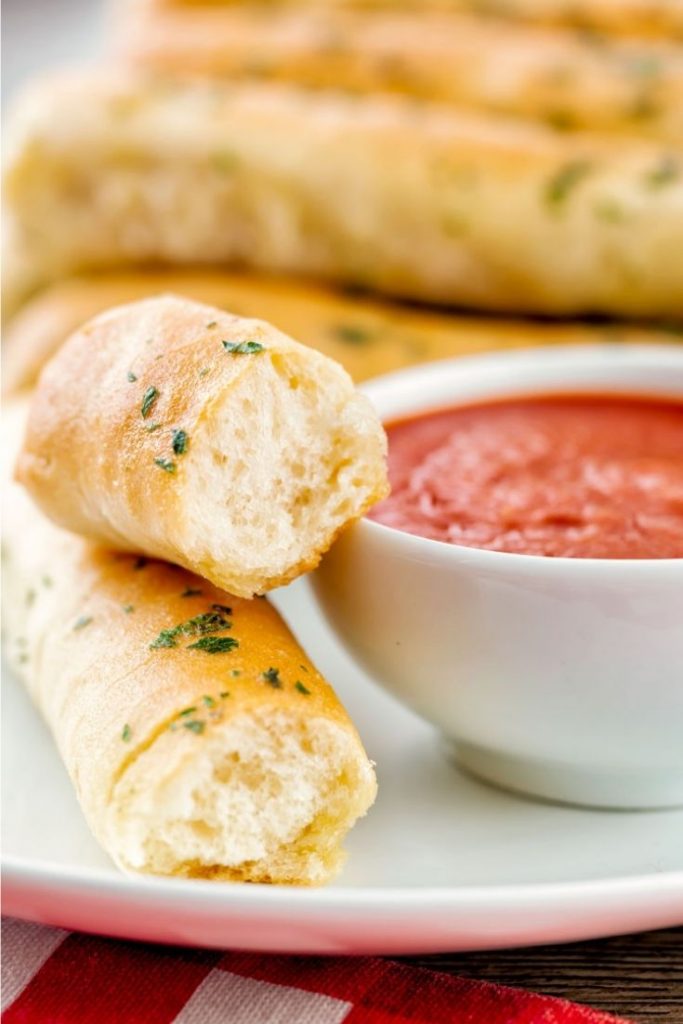
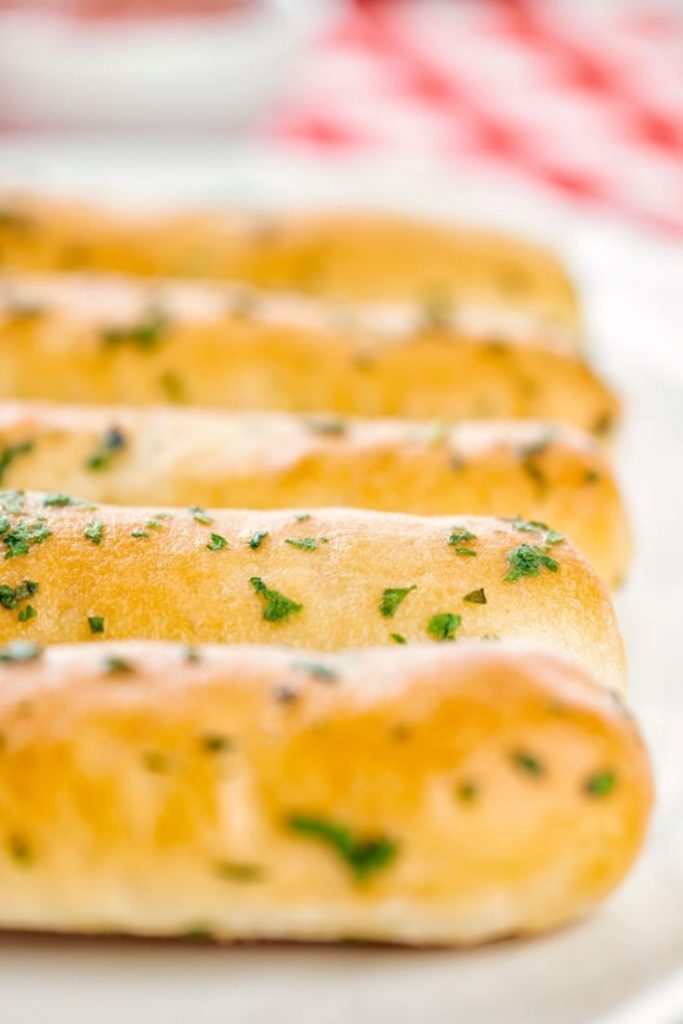
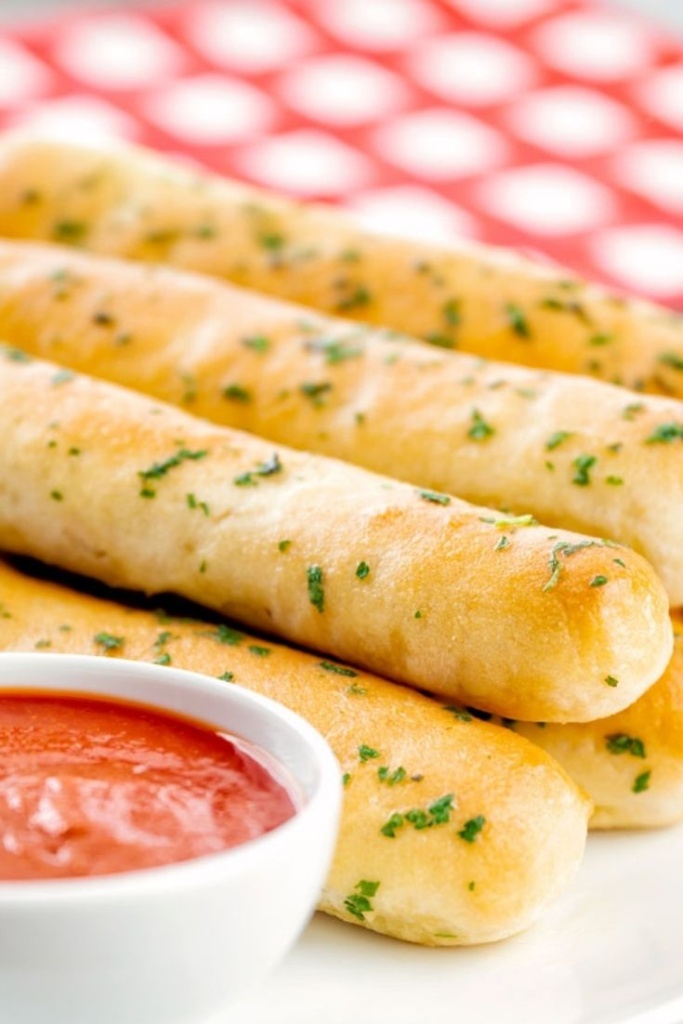
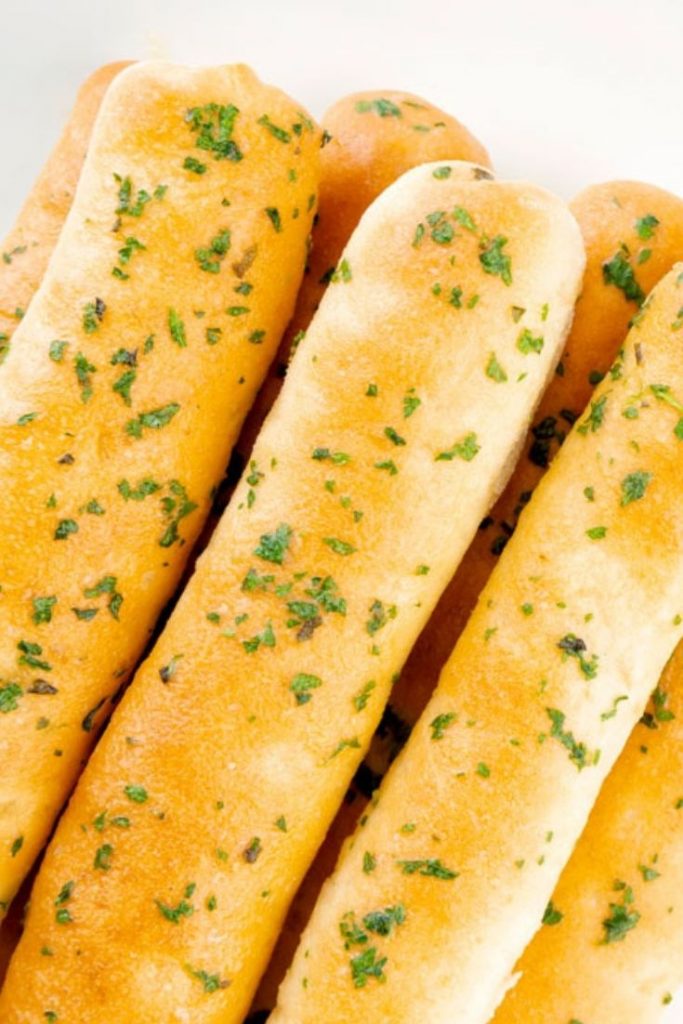
Copycat Olive Garden breadsticks are our spot on version of the classic dish. These soft, buttery breadsticks are as delicious as the ones they serve in the restaurant in the comfort of your home. Pair them with your favorite pasta or soup and salad for a treat you and your family will love!
LET'S BE FRIENDS ON PINTEREST! WE'RE ALWAYS PINNING TASTY RECIPES!
Jump to:
Watch the video
What are copycat Olive Garden Breadsticks?
Olive Garden is a popular Italian restaurant chain famous for its breadsticks. They come free and are endless with every meal. We love using them to soak up the extra sauce or salad dressing.
The breadsticks are served hot and fresh from the oven and are coated with butter, garlic, and parsley. You can use this copycat recipe to make these famous breadsticks at home any time you want to enjoy the taste of the Olive Garden but not go out.
If you love the Olive Garden, make sure to check out our Olive Garden Copycat Minestrone Soup. It pairs so well with these breadsticks!
And if you love bread as much as I do, be sure to check out our Ciabatta bread recipe. It also goes great with soup or you can use it for your favorite sandwiches.
Why you will love this recipe
Let's face it, the best part of the Olive Garden is the breadsticks. They go with everything from their delicious salad to any of their mouth-watering entrees.
This copycat Olive Garden breadsticks recipe tastes just like their famous breadsticks and also goes well with just about any entree or appetizer. They are also super easy to make and don't require a trip to a restaurant to enjoy!
What you'll need for the breadsticks
These copycat Olive Garden breadsticks don't need a lot of ingredients. You probably have many of them on hand. Here's what to gather when you are ready:
- All-purpose flour - You could use whole wheat or bread flour, but it could change the flavor and texture slightly. I recommend using plain all purpose flour.
- Active yeast - You can use packets or loose yeast.
- Sugar - Sugar is needed to help activate the yeast.
- Salt
- Water warm - Make sure it is lukewarm or only slightly warm to the touch. If it is too hot, it can kill the yeast, but if it is too cold, the yeast won't activate.
- Canola oil or butter - You should use canola oil if you want to make them vegan.
- Butter melted - Melted butter goes on top, but olive oil works for a vegan option.
- Garlic powder and parsley
How to make
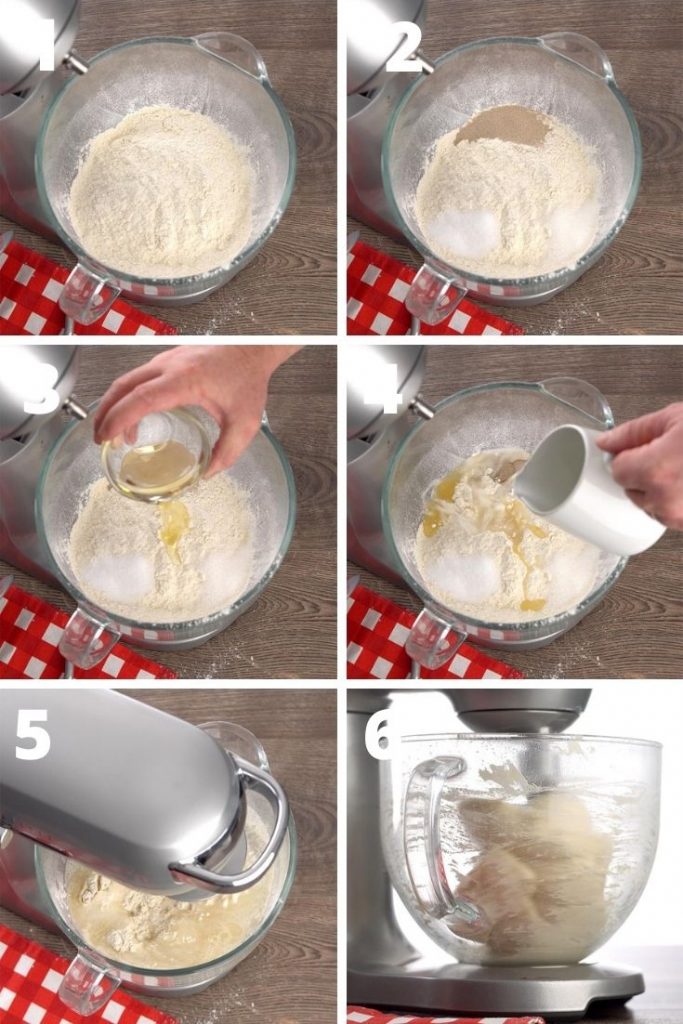
- First, combine all ingredients, except for topping ingredients, in the bowl of a stand mixer. Next, place the dough hook attachment on and mix until combined on low speed.
- Once it has come together, keep mixing for about 5 more minutes or until the dough has formed a soft, slightly sticky ball. It will not pull away from the side of the bowl completely.
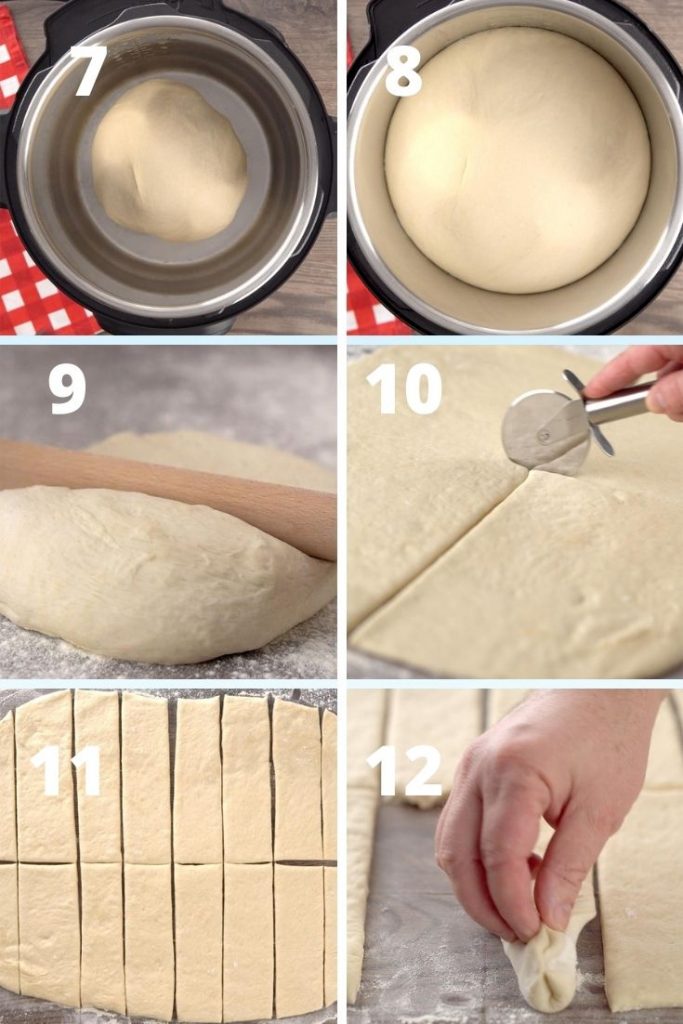
- Next, place the dough in your Instant Pot and proof it on the medium yogurt setting for 45 minutes. If you don't have the yogurt function, you can cover the bowl and allow it to rise in a non-drafty part of the kitchen for about 1-½ hour.
- When it is done, the dough should have roughly doubled in size. Before removing the dough from the bowl or inner pot, punch it down in the center. Next, lay the dough on a floured surface and roll into a roughly 12 x 16 inch rectangle.
- To make it really easy, use a pizza cutter to cut into 16 equal sized pieces.
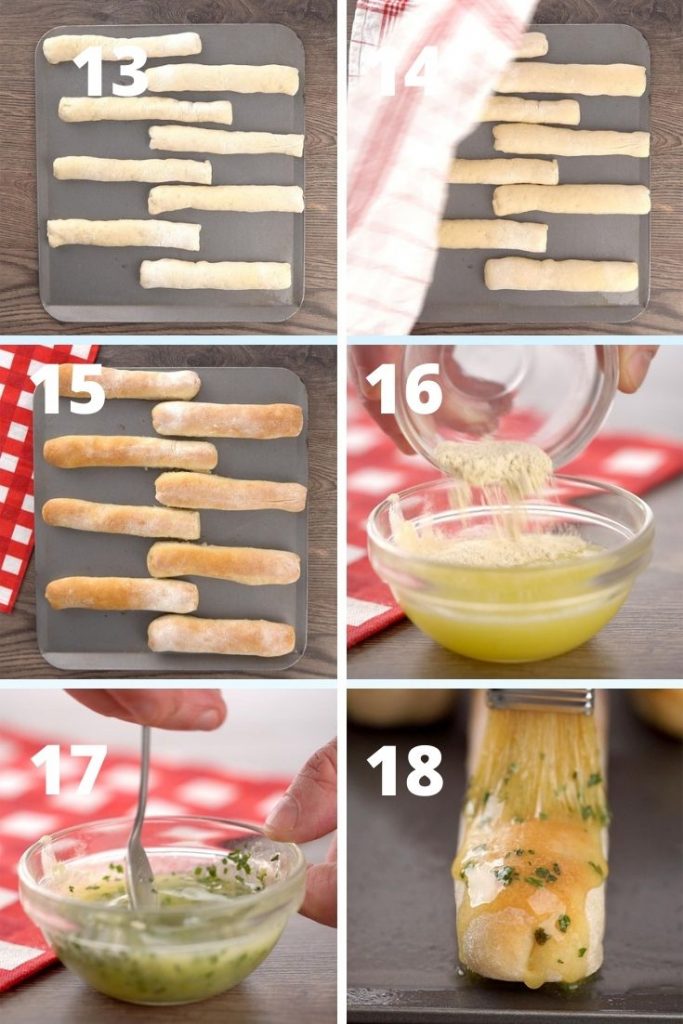
- Next, pinch the long sides of each piece together to form a breadstick shape and place the sticks with the pinched side down on a greased baking sheet. Finally, cover them with a towel and allow them to rise for another 20 minutes.
- Once the breadsticks have risen, bake them in a preheated oven at 375° for 15 to 17 minutes.
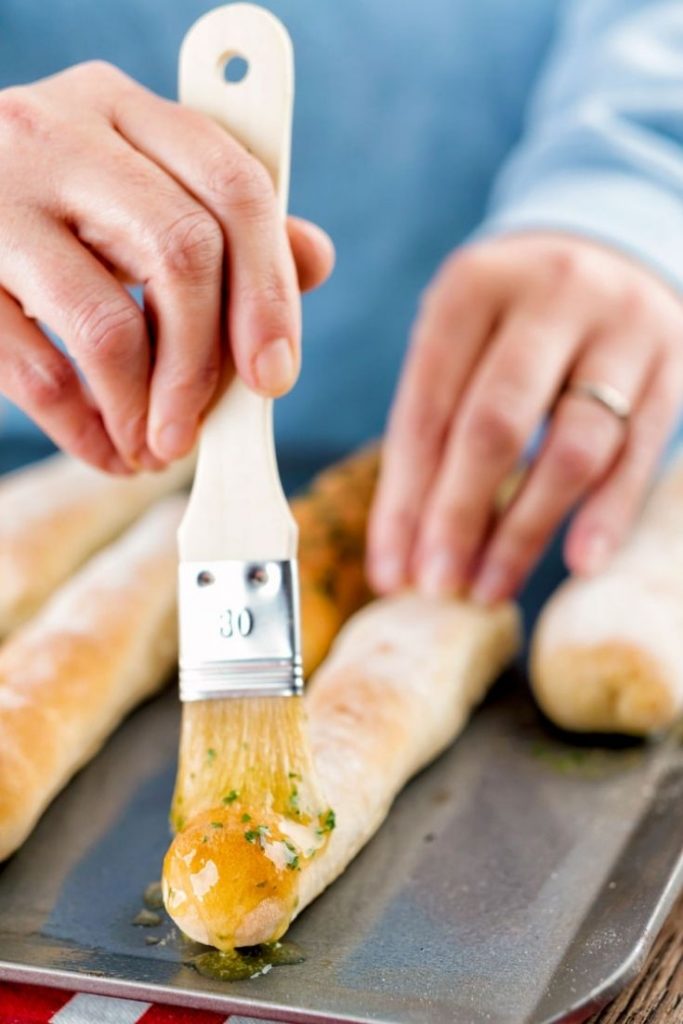
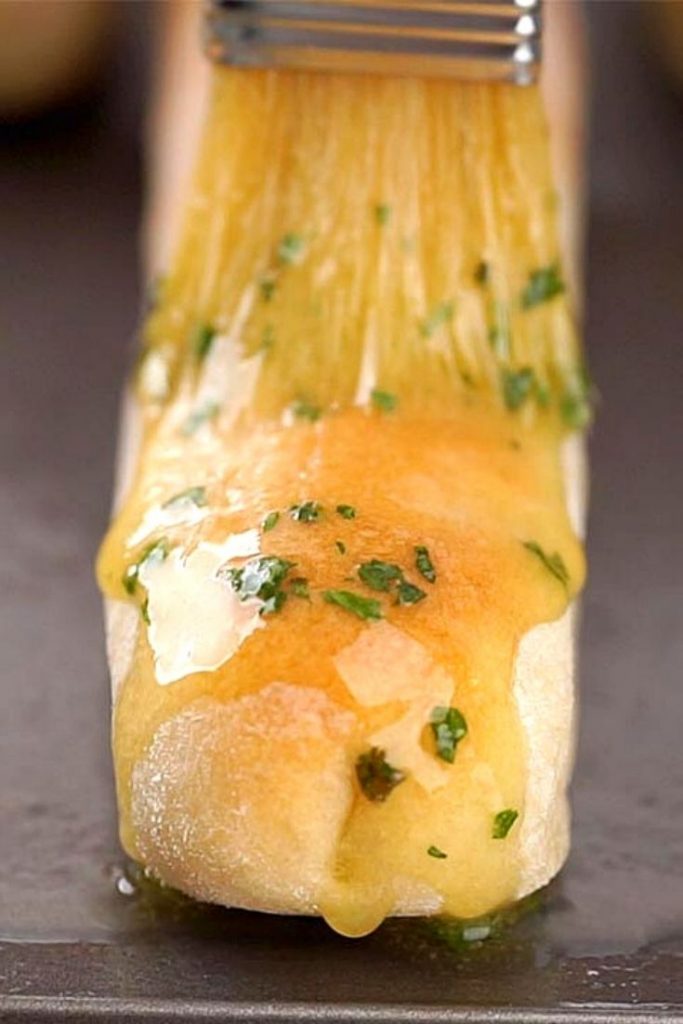
- In the final minutes of bake time, mix the garlic powder, Dried Parsley or Italian seasoning, and salt together. Next, melt the butter and mix in the seasonings. Once you remove the breadsticks from the oven, brush them immediately with the mixture.
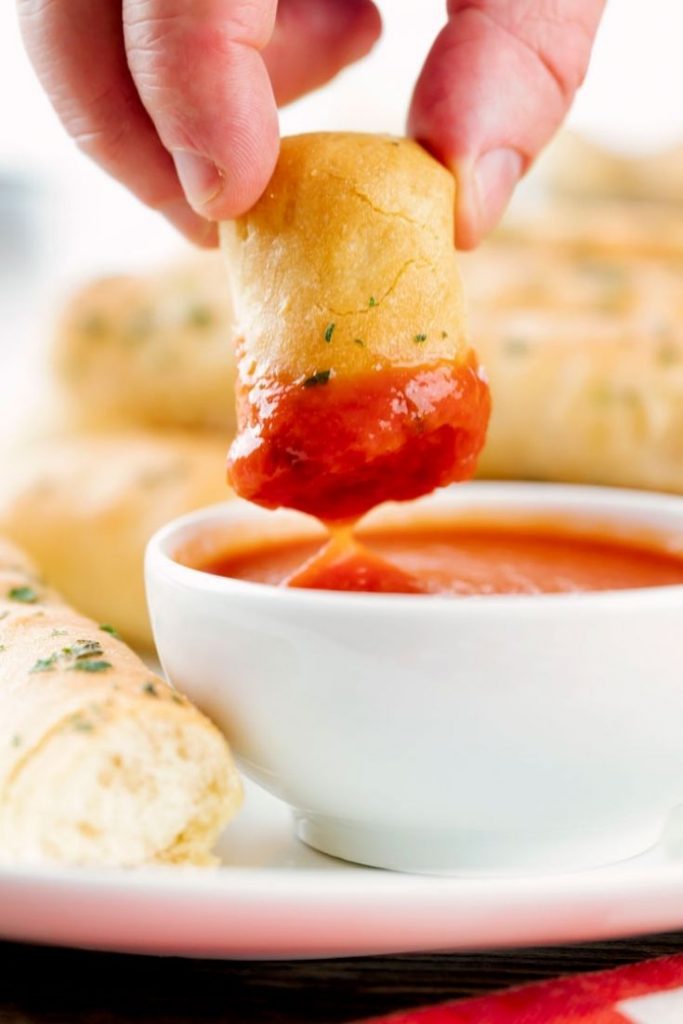
- Serve the breadsticks fresh from the oven with your favorite soup, marinara sauce, dipping sauce, or entree. Enjoy!
How to make the breadsticks in an air fryer
- To make the breadsticks in your air fryer, follow all the directions to make the dough. But instead of placing them in the oven and preheating your oven, you'll need to preheat your air fryer.
- To bake the sticks in the air fryer, first let the breadsticks rise in the tray of the air fryer for 30 minutes.
- Once they have risen, place the tray in the air fry and cook for 10 to 12 minutes on 400 F.
- Finally, brush the tops with herb butter when they are out of the oven.
Pro tips and tricks
These breadsticks are super easy to make. You can make the process even easier by following some of these easy tricks.
- Make sure you use lukewarm or only slightly warm water to help the yeast activate in the dough.
- Don't over-knead the dough! About 5 minutes with the dough hook is all you need.
- Allow the dough and then the breadsticks time to rise before baking.
- Bake until the tops have started to turn light golden brown.
Are Olive garden breadsticks vegan?
The original Olive Garden recipe is not vegan because it uses butter to make the sticks and to top them.
But you can easily make these breadsticks vegan by using canola oil in the breadsticks and olive oil to top them. Though they will still taste amazing, they will not have the exact flavor of the Olive Garden.
Can Olive Garden breadsticks be frozen?
Yes! You can freeze the breadsticks once you make either the dough or bake the sticks.
- To freeze the dough, allow it to rise and then tightly wrap the dough in plastic wrap. Place the plastic wrap in a freezer safe back and squeeze out all the air. Finally, place the dough in the freezer for up to 6 months.
- When you are ready to make them, thaw the dough in the fridge overnight and then allow them to come up to room temperature before rolling out into sticks.
- To freeze fully baked breadsticks, skip brushing them with melted butter and place the sticks a freezer safe bag once they have cooled down. Freeze them for up to 6 months. To reheat, allow them to thaw overnight and then bake in the oven for about 15 to 20 minutes or until warmed through at 300 degrees.
How do you reheat breadsticks
- There are two ways to reheat breadsticks.
- The first way is to preheat your oven to 300 degrees. When it is warm, place the breadsticks on a cookie sheet and bake for about 5 to 10 minutes or until they are warmed through.
- The second way is to place one or two on a microwave safe plate and cover with a moistened paper towel. Once covered, you need to microwave the sticks for about 15 seconds or until warmed through.
- For best results, I recommend brushing fresh butter or oil on top when you reheat them. If you know you will have leftovers or you make ahead, leave the butter topping off until you are ready to heat and serve them.
How to serve
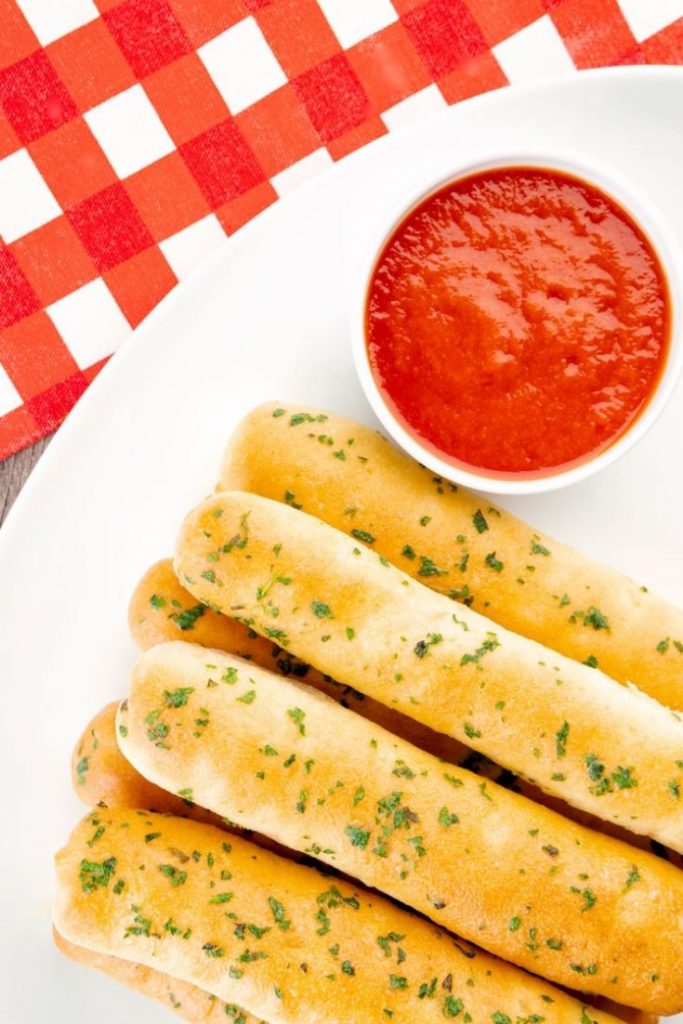
These copycat Olive Garden breadsticks are best served warm from the oven with the melted butter brushed on top. They are a great appetizer and go well with just about any meal, salad, or appetizer.
If you love soup as much as I do, you can serve it with either our Sopa De Fideo or Broccoli Cheese soup. They are great dippables and a great way to soak up the last little bit of soup.
Another great way to serve the breadsticks is as an appetizer at a get together or just for your family when you want a simple snack. When I serve it as an appetizer, I often make a fresh batch of our homemade Marinara Sauce to dip into.
How long do breadsticks last
These breadsticks should last for several days on the counter. Be sure to let them cool and place them in an airtight container. You may want to place a few paper towels with them to help prevent moisture. They should last for about 5 to 6 days.
You can also store them in the fridge for about 6 to 7 days. If you freeze them, they should last about 6 months.
More delicious Bread Recipes
If you love bread and want more ideas, you should definitely check out some of these other popular bread recipes:
- Ciabatta
- Bolillo Bread
- Garlic knots
- Olive Garden Breadsticks
- Ladi Pav / Dinner Rolls
- Whole wheat bread
- Banana bread
- Date and walnut bread
More Delicious AIR - FRYER recipes you will enjoy:
- Banana chips
- Cauliflower wings
- Gobi Manchurian
- Onion rings
- Orange cauliflower
- Potato chips
- Samosa
- Crispy Tofu Buffalo Bites
- Apple chips
- Kurkure Bhindi
- Onion Bhaji
Let us know what you think
If you try these Olive Garden breadsticks? If so, don't forget to let us know what you think and how you served them! Be sure to take a pic and tag us on Instagram @dbellyrulesdmind or Facebook @thebellyrulesthemind!
Print
Copycat Olive Garden Breadsticks
- Total Time: 1 hour 5 minutes
- Yield: 16 1x
- Diet: VegetarianDiet
Description
Copycat Olive Garden breadsticks are our spot on version of the classic dish. These soft, buttery breadsticks are as delicious as the ones they serve in the restaurant in the comfort of your home. Pair them with your favorite pasta or soup and salad for a treat you and your family will love!
Ingredients
- 3 -¼ cups all-purpose flour
- 1 pkg active yeast
- 1 tbsp. sugar
- 2 tsp salt
- 1- ¼ cup water warm
- 2 tbsp canola oil or butter
Topping
- 3 tablespoons butter melted
- 1 tsp each garlic powder and dried parsley or Italian seasoning
Instructions
- Combine all ingredients (except for topping
ingredients) in the bowl of a stand mixer and mix using the dough hook until combined on low. - Continue mixing about 5 minutes, adding just a
little more flour if needed. - Dough will be soft and slightly sticky; it won't
completely pull away from side of bowl. - Proof the dough in the Instant Pot on the medium
yogurt setting for 45 minutes.(If you do not have that simply cover in a bowl and let rise on the counter for 1-½ hour) . - Punch down risen dough and lay out on the floured surface. roll dough into a 12 x16 inch rectangle.
- Use a pizza cutter to slice into 16 pieces.
- Pinched the long sides of each piece together to form a breadstick shape.
- Place sticks pinched side down on a greased baking sheet, cover with towel, and let rise about 20 minutes.
- Bake at 375° for 15-17 minutes.
- Mix the garlic powder, Italian seasoning and
salt. - Brush each breadstick with melted butter and
seasoning. - Serve immediately with soup or marinara sauce!
- Prep Time: 50 minutes
- Additional Time: 0 hours
- Cook Time: 15 minutes
- Cuisine: Italian
Nutrition
- Serving Size: 1
- Calories: 67
- Sugar: 1
- Sodium: 176
- Fat: 5
- Saturated Fat: 2
- Unsaturated Fat: 3
- Trans Fat: 0
- Carbohydrates: 6
- Fiber: 0
- Protein: 1
- Cholesterol: 6



Kechi says
Oh, dear, you don't even know how much we miss Olive Gardens! Am saving this recipe, cos I have to have it!
Toni says
Even my picky eaters loved it!! So good and delicious!
Myra says
Anyone tried a gluten free version?
Soniya Saluja says
Hi Myra, we have not yet tried it with glutenfree flour. We will keep you posted when we give it a try.
April K. says
I love to dip these in my homemade alfredo sauce. I think these are even better than Olive Gardens.
Angela says
Thanks for the great recipe! I would freeze some for later but I don't think they will last that long.
Pam Greer says
I left a review on your card! These are so good!
Soniya Saluja says
Thanks ?Pam
Kelly says
I was craving Olive Garden, but we were snowed in (Texas). I saw this recipe on facebook and had the ingredients so I made it! I accidentally added the butter mixture on before baking so I had to add it again. While it wasn’t healthy doing it that way, they came out so buttery and delicious!! We ate the whole pan in a sitting :0 y
Soniya Saluja says
Hi Kelly, so glad to hear you and your family enjoyed this olive garden breadsticks 🙂
HEIDI LYNCH says
So good, I made them two days in a row!!
Soniya Saluja says
Yay! Heidi we are so glad to hear that?? do try our minestrone ? soup with it next time. Xoxo
Lyn says
I don’t have a mixer with stand. Can I just knead for five minutes? I would love to try these.
Soniya Saluja says
Hi Lyn, you can knead it with your hands for few minutes if you don't have stand mixer. Hope you give them a try.. they are worth the time ?♀️?
ruta desai says
Hi, I tried the recipe. We loved the breadsticks. My dough did risen well while proofing in IP but when I took put, made sticks and kept it for rising it didn't risen well. What can be the reason, can you please help?
Joy Panem says
Good recipe and will try this very soon. Joy
Jennifer says
Why did mine not brown? They were soft and tasted good but not eye appealing 🙂
Soniya Saluja says
Hi Jennifer , on what rack did you bake. After 10 minutes move it on the top rack for few minutes for the dark color on the top. Make sure to keep an eye on them or else they will burn
Aruna says
Please specify amount of yeast
Soniya Saluja says
Hi Aruna. One packet of yeast contains 1/4 ounce or approximately 2 1/4 teaspoons of yeast. Hope it helps.
Patti says
Nowhere on your recipe ingredients does it say anything about Italian Seasoning or Salt for brushing on the breadsticks. It only says garlic powder and parsley. Other than that listing error, they were great. Have made then a couple times with just the melted butter, garlic powder and parsley.
Lisa says
Is it possible to make these without a standing mixer?
Soniya Saluja says
Yes you can make it with out the stand mixer... just knead it with your hands 🙂